I’m happy to share that my Color Grid quilt top is finally finished! This has been a work in progress for quite a while–according to my photos, I made the first blocks in February 2021.
That’s OK though. When I started this project, I had no idea what it would turn out to be. I just knew I had overflowing bins of fabric scraps and I needed to do something with them. I started by sorting my scraps into color families–reds and oranges, blues, purples, greens, yellows, neutrals and black. Below is what one of the bins looked like before sorting.
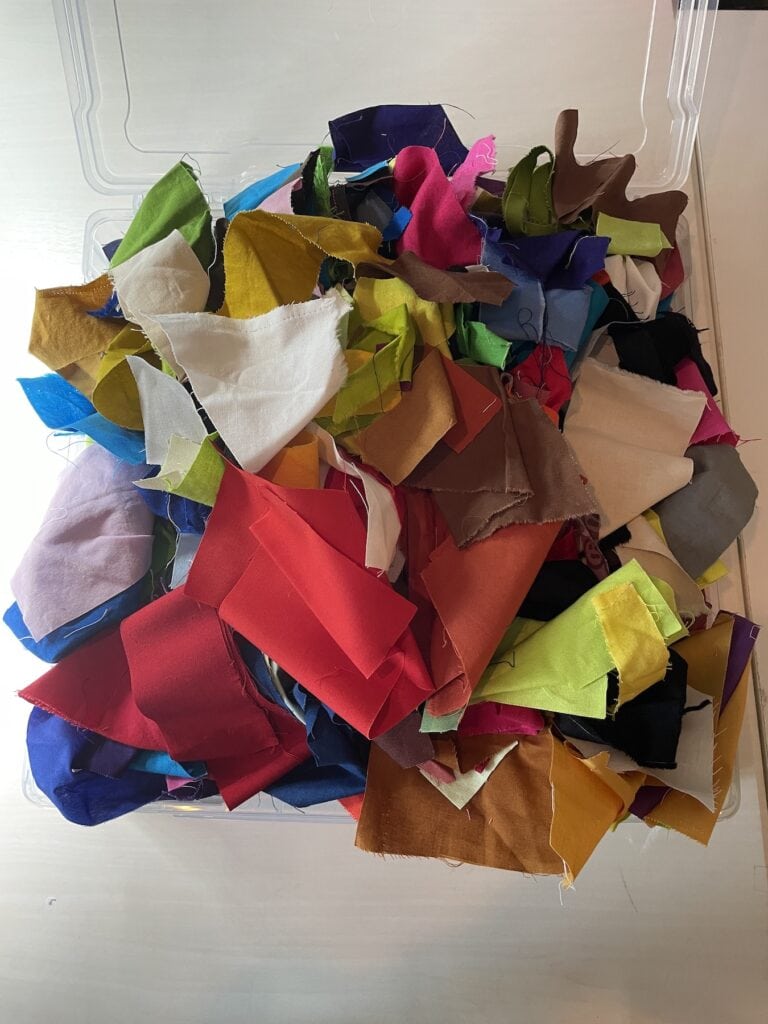
Starting with Scraps – Cindy Grisdela
As with all of my Improv projects, I set out a few guidelines to give structure to my project.
- 4″ blocks
- each with at least one white and one black element
- no yellow
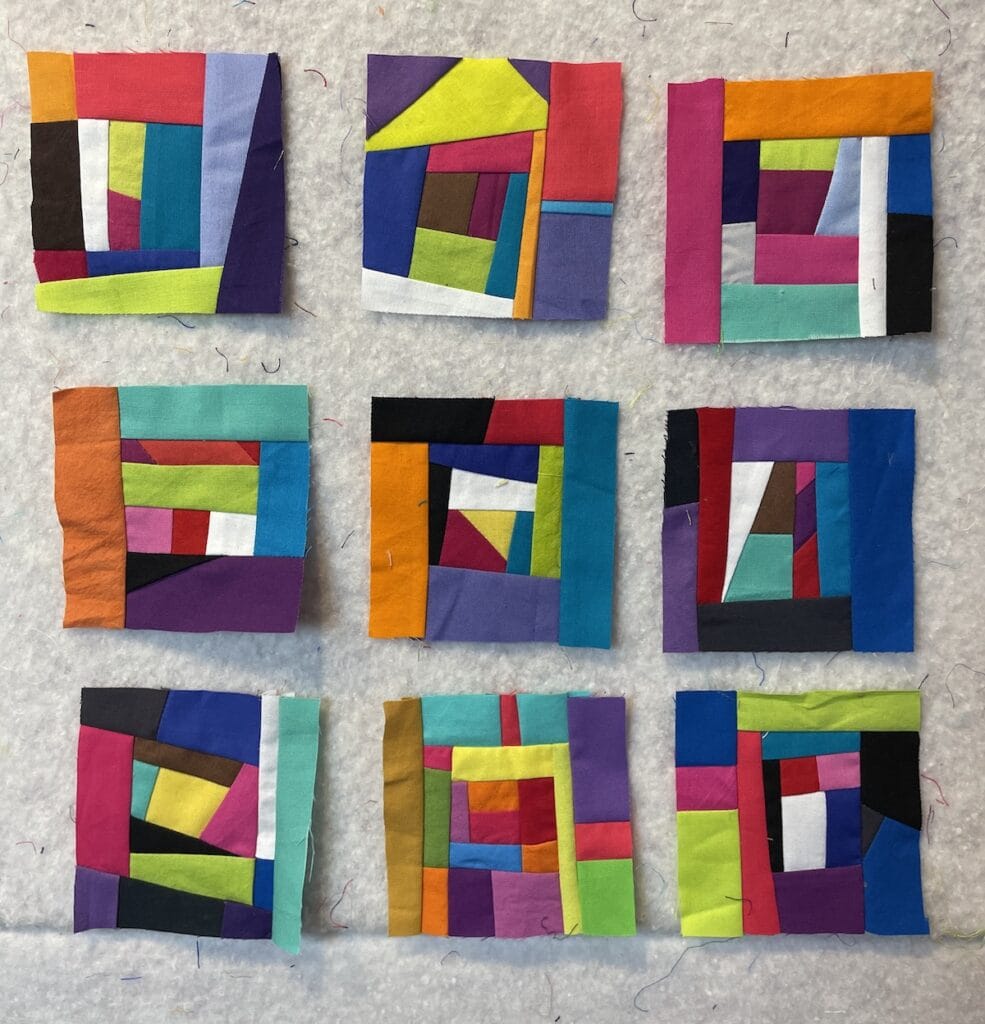
Scrap Block Guidelines – Cindy Grisdela
These guidelines are fairly arbitrary and can be changed as I go along. I did use some neon green scraps in the blocks above that do look yellow in the photo.
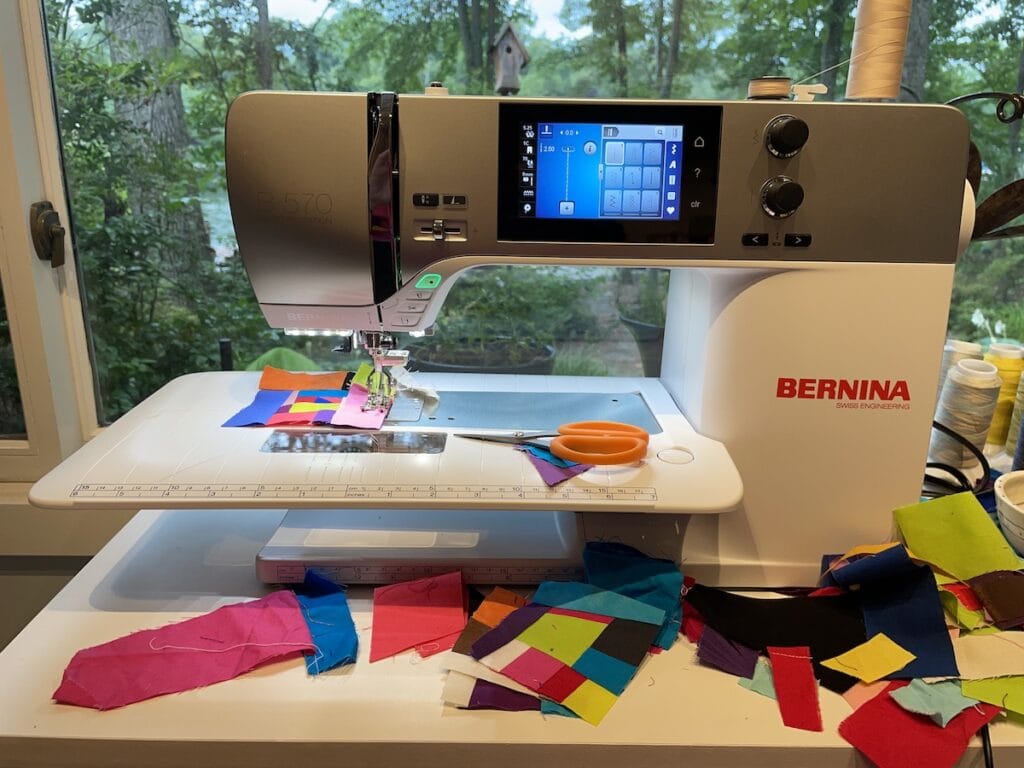
Sewing the Blocks – Cindy Grisdela
I like small pieces and lots of movement in my blocks–some of these scraps were really tiny! But it was fun to create each little composition. I chain pieced 3 or 4 blocks at a time so I wouldn’t try to overthink each decision–just picked up another scrap and added to the block unless it was the same color or value as the one next to it. And sometimes even then I just sewed it on because I was thinking about creating lines and shapes.
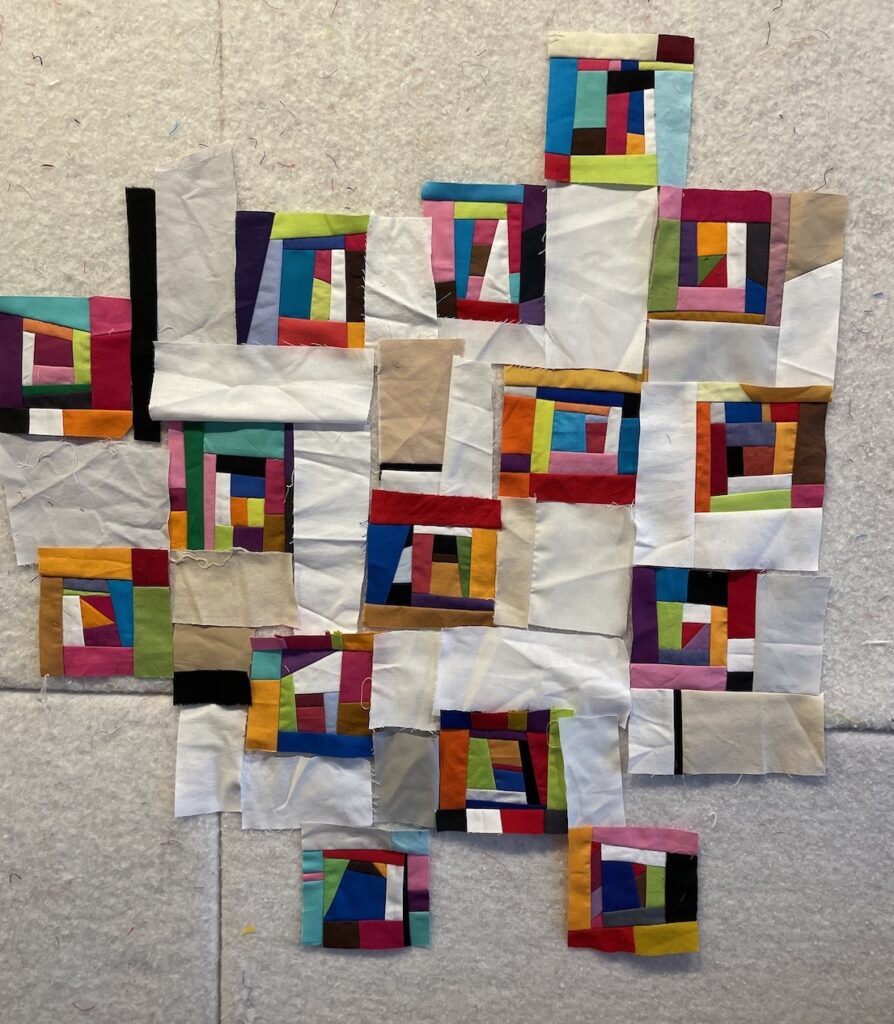
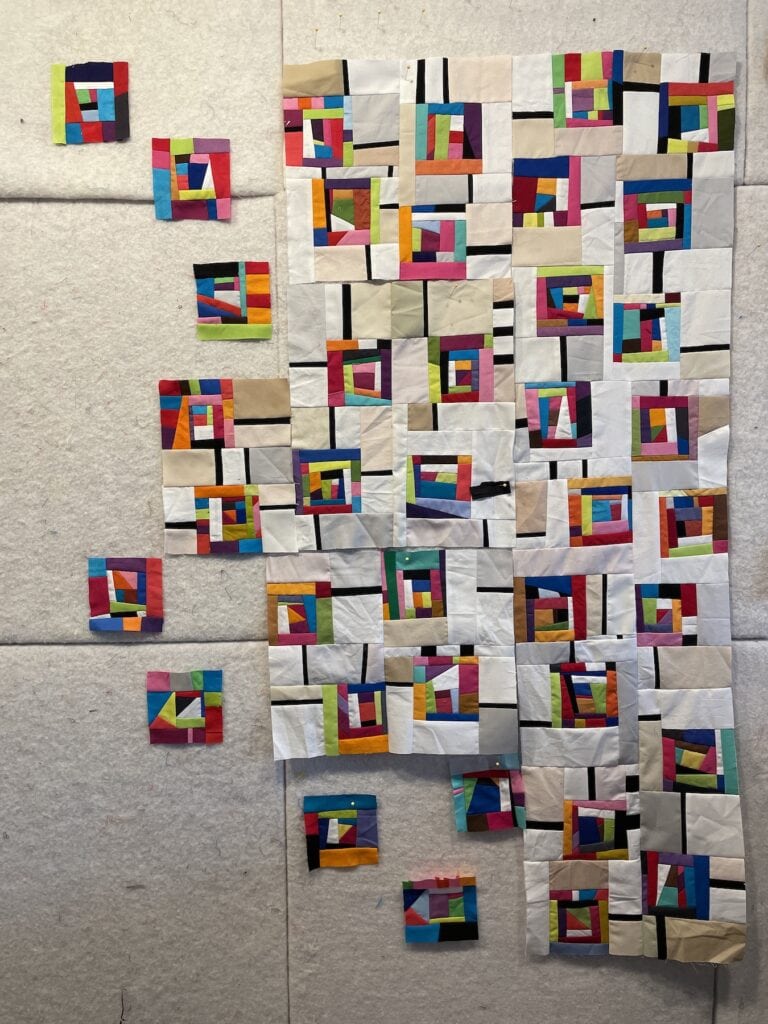
First try at the composition – Cindy Grisdela
My original idea was to use the blocks to create larger units with neutrals. I didn’t want the blocks to line up at all–I wanted a random feel to the composition. Above is the first section I laid out. I wasn’t happy with the large areas of neutral fabrics and I had some scraps that were already put together with skinny black lines, so I added them in and changed direction. It’s important in my Improv practice to be open to new ideas and a different way of doing things as the design progresses–evaluating where I am and asking “what if?” is invaluable.
![]()
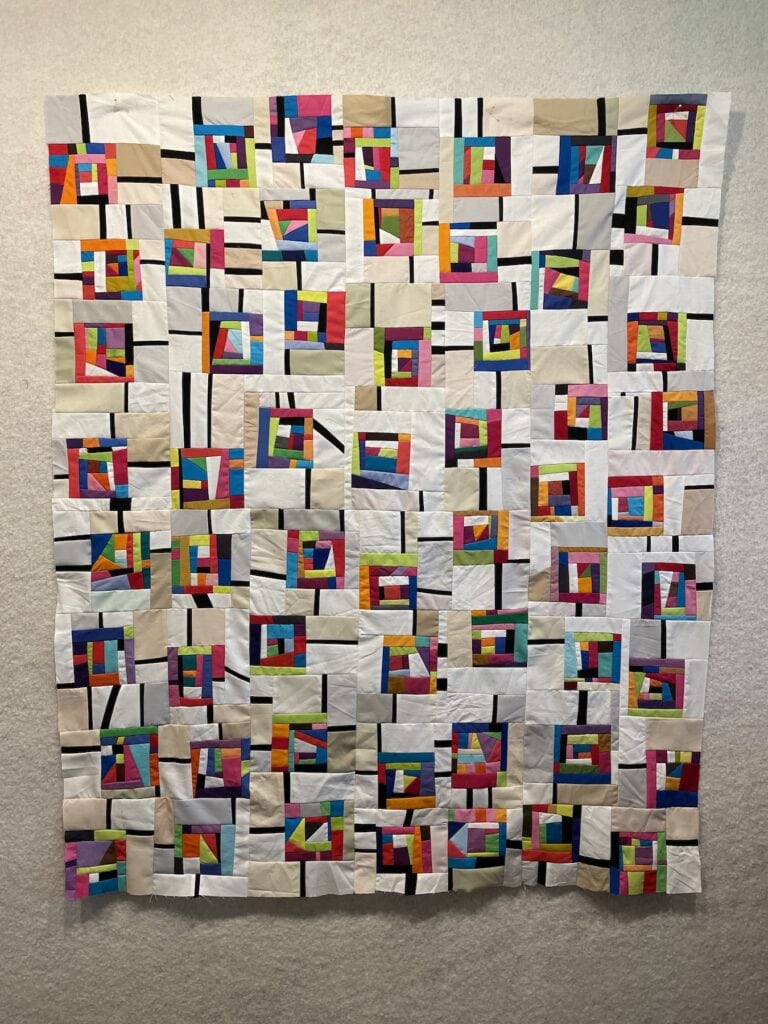
Color Grid in Process – Cindy Grisdela
I laid the blocks out roughly where I wanted them to go and then constructed the neutral sections to fit. It ended up being quite an engineering project because of the random feel I wanted, and I realized I would have to sew the sections up as I went along so everything would fit. But I do love a good puzzle, so I kept at it! Most of the black lines are really skinny–I cut most of them 3/4″ and they finish to about 1/4″, but there are some wider ones that were already attached to their neutrals from the scrap bag, so I left them as they were. I also let in some angled stripes that add a bit of the unexpected.
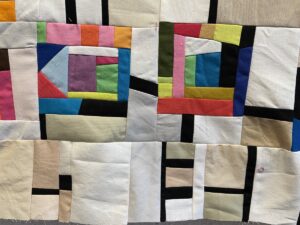
Color Grid top without Borders – Cindy Grisdela
Once the top was finished, I decided I wanted to add borders just with the neutrals and the black stripes.
Neutral Border – Cindy Grisdela
The top finished to about 54″ high x 46″ wide.
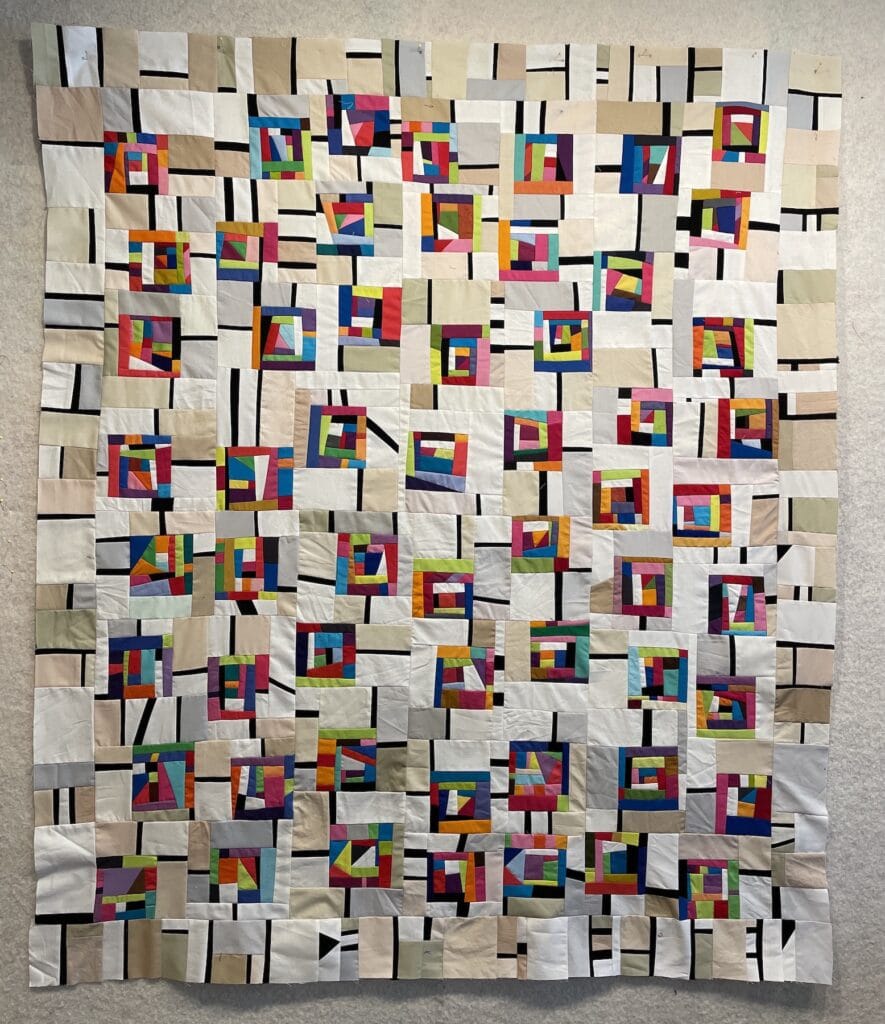
Finished Color Grid top – Cindy Grisdela
I made a smaller 12″ x 12″ version for the SAQA Annual Benefit auction that is being held in September. Details are available at https://www.saqa.com/events/2021-saqa-benefit-auction if you are interested.
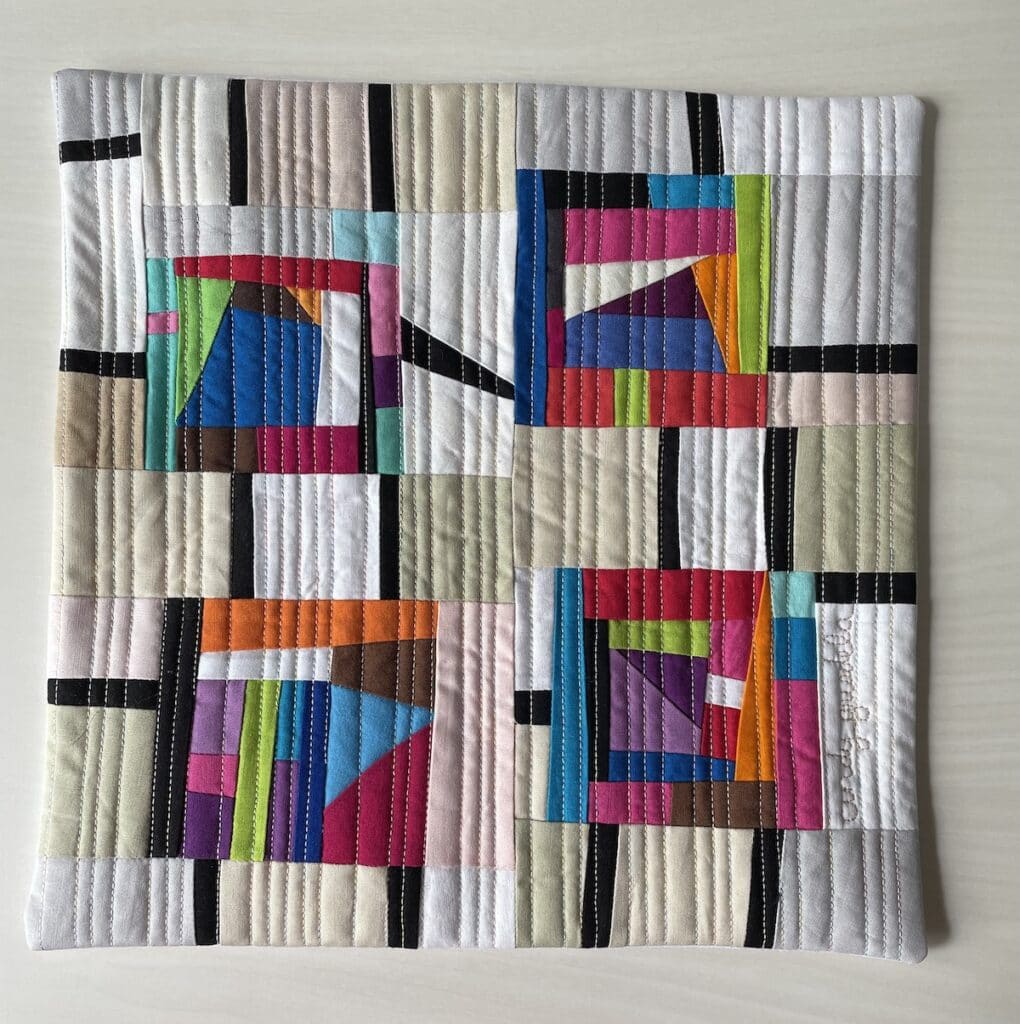
Mini Color Grid Quilt 12″ x 12″ – Cindy Grisdela
I plan to quilt the larger version in the same way, with irregularly spaced vertical lines. There’s so much going on in this composition that I think it’s best to keep the quilting simple.
I’m also developing a class for this process called “Improv from the Scrap Bag” that I expect will be available in the fall. It’s a lot of fun and I have ideas for more!
Thanks for showing your process! I love the end result!
Thanks so much, Heather. It was fun to see how it all evolved. Now to the quilting!
Cindy
Hi
I just love your idea when I saw it on Facebook it answered a prayer I have been busily sewing my crumbs together with no idea how to put the blocks together but now you have given me so many ideas
Many thanks
Karen
That’s great, Karen–I’d love to see where you take the idea when you’re finished!